
Hiking the Manitou Incline in Colorado
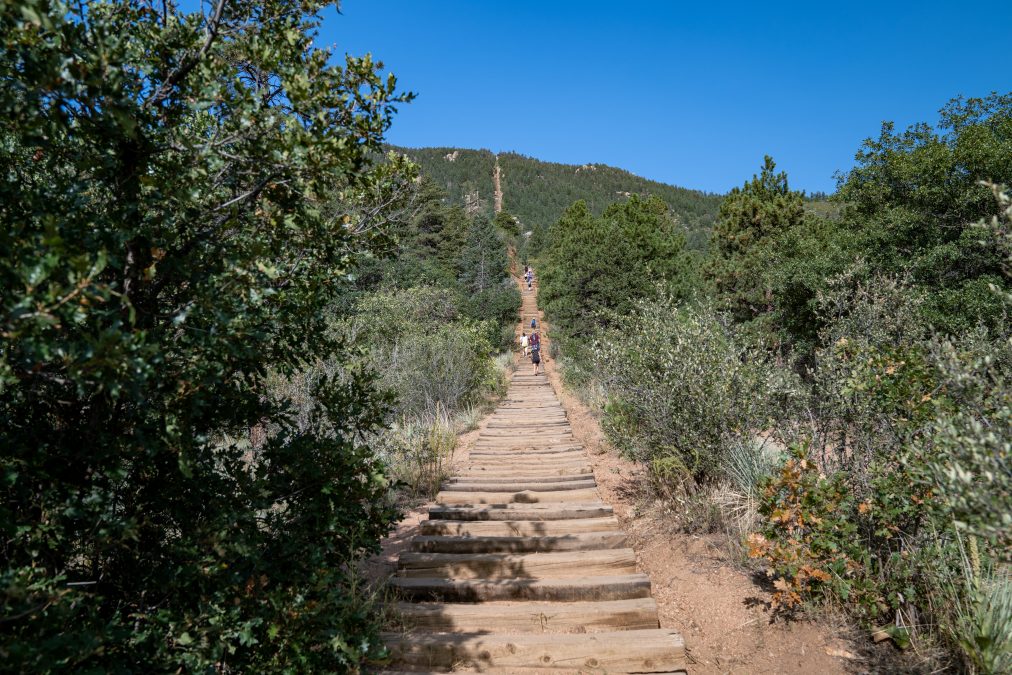
I love a good fitness challenge. I love cardio – I run 55-60 miles a week, and have been doing it for years. So when I first heard about the Manitou Incline trail, I knew I had to do it.
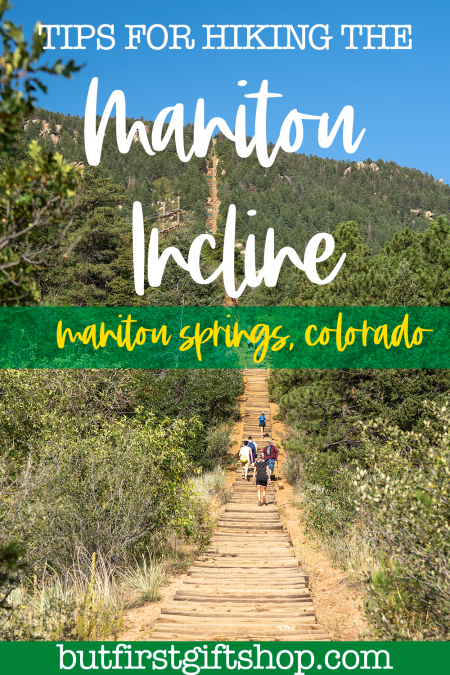
If you’re in the Colorado Springs area and head west towards Manitou Springs, Pike’s Peak, etc, you’ll see a staircase going straight up the mountain, right from the highway. That’s the Manitou Incline, an old tourist cable car line that was washed out in 1990 by a rock slide and never rebuilt.
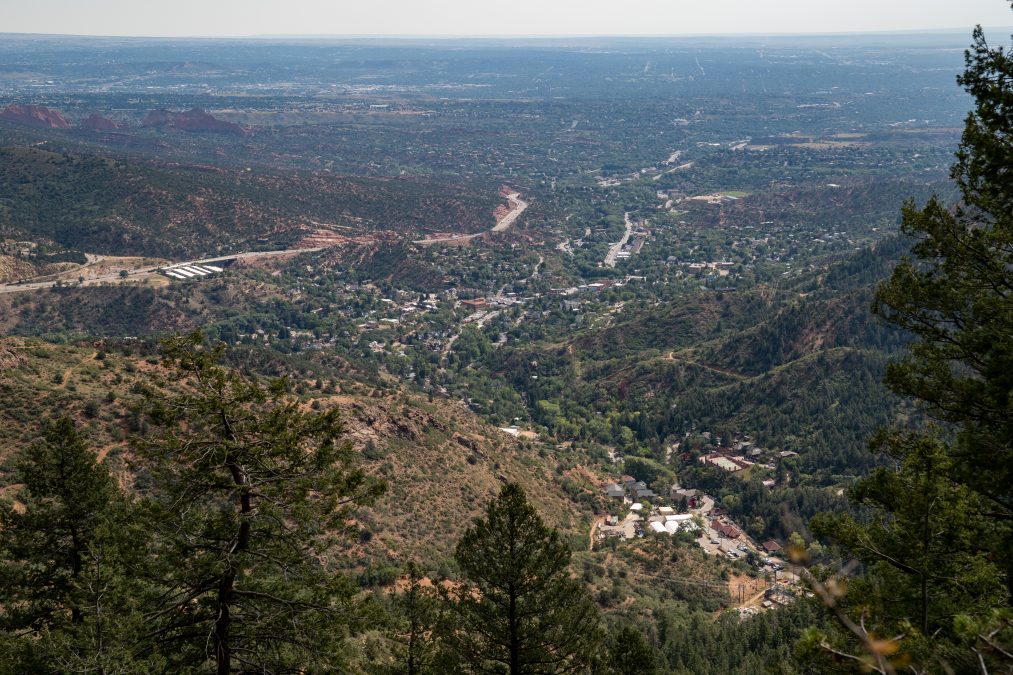
The Manitou Incline ascends 2,000 feet in elevation in less than a mile. It’s quite literally a staircase going straight up the mountain. I consider myself very athletic and this was by far the most physically challenging hike I’ve ever done. This hike is unrelenting – it is an extreme hike and should only be attempted if you are fit.
Details
Location: Parking at the trailhead is extremely limited, so you’re likely going to need to use the free Manitou Springs shuttle bus, which run every 20 minutes. I parked in this lot and caught the bus from here. Parking is free here:
10 Old Man’s Trail
Manitou Springs Colorado
Cost: The trail is free but in some areas of Manitou Springs, you may need to pay for parking.
Time commitment: This is a 5 mile round trip loop hike and timing is going to depend on your fitness level – and the fitness level of your group, if you’re not doing this solo. The incline itself is only one mile in length, but you have to get back down four miles via the Barr Trail. I would say plan for 2-3 hours. And you’re going to need a shower after this.

Preparing for the Manitou Incline Hike
You’ll need to be in shape to do this hike. There’s no way around it. If you’ve never hiked before or set foot on a treadmill, this isn’t the hike for you.
Water: An absolute must. I brought four bottles of water with me. I drank 3 of them and gave one away to another hiker who didn’t have any. If you can, try to bring extra bottles for other people – there are an insane amount of underprepared hikers on the incline!
Clothing: Wear gym clothes. I wouldn’t wear hiking clothes on this trail – this is a workout, not a nature hike. I wore what I’d typically wear to the gym – a running skirt and an Under Armor t-shirt. I did wear my trail running shoes though, and not my typical gym shoes, and I did have a backpack.
Sunscreen
Snack: You’re going to want to feast after you get to the top.
Hiking the Manitou Incline
I stayed at a hotel in Colorado Springs, and as I was driving out to Manitou Springs to do my hike, I could see the incline from the highway. I felt a sense of dread in my stomach – I have to climb….that? Jesus Christ.

I parked in the “10 Old Man’s Trail” lot in Mantiou Springs and caught the bus. There were plenty of other hikers doing the same thing, so you’ll have plenty of company to assure you that you are in the right spot.
After you get off the bus, just follow the other hikers to the trailhead – you can’t miss it…and then start your ascent!
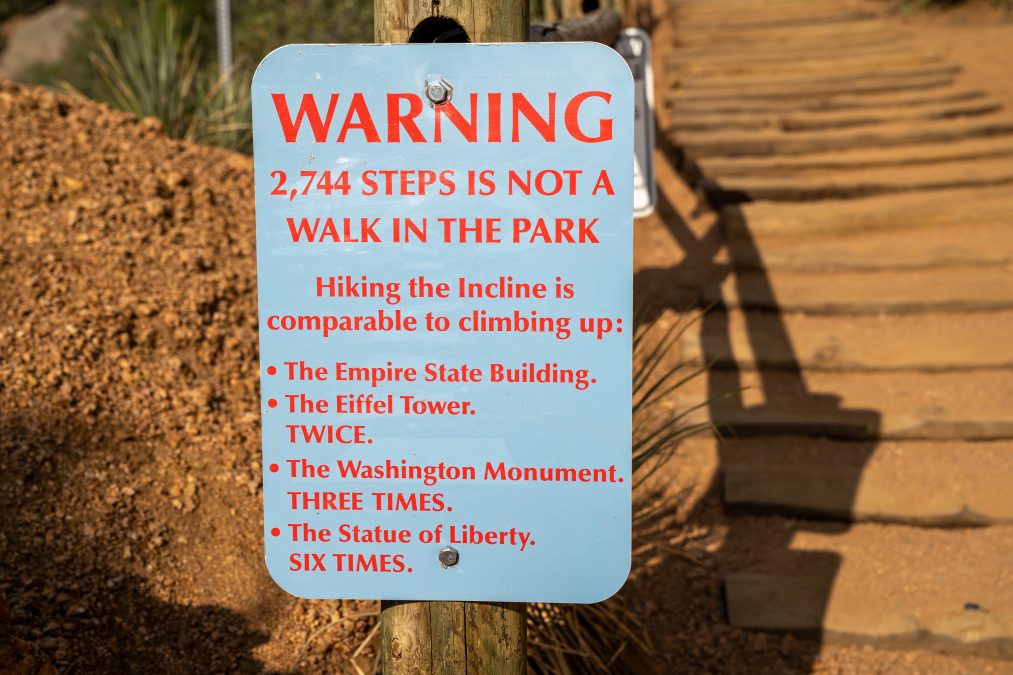
There are lots of warning signs at the base of the incline, reminding you that this hike means business. Dogs are not allowed on the trail as it would be too hard on their bodies.

The incline ‘steps’ aren’t actually steps – they’re old railroad ties and they’re not all spaced out perfectly. At a few spots on the trail, you’ll feel like you’re climbing a ladder. During a few points, I was army-crawling up the steps – that’s how far apart some were spaced.
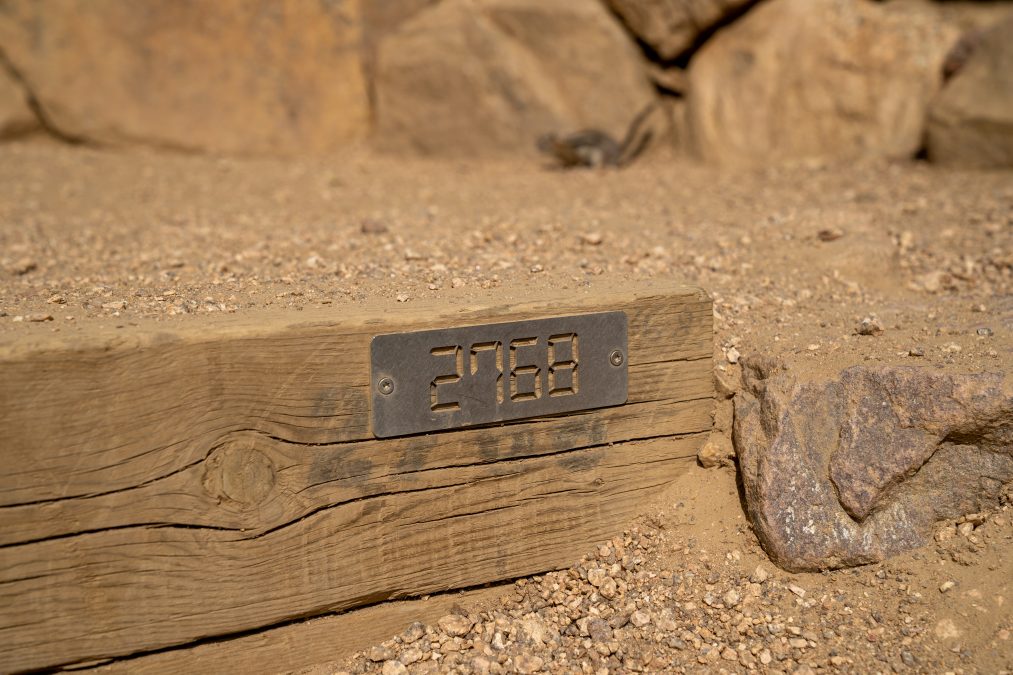
As you climb up the steps, you’ll see numbered stairs letting you know how many you’ve done so far. I found it to be very motivating.
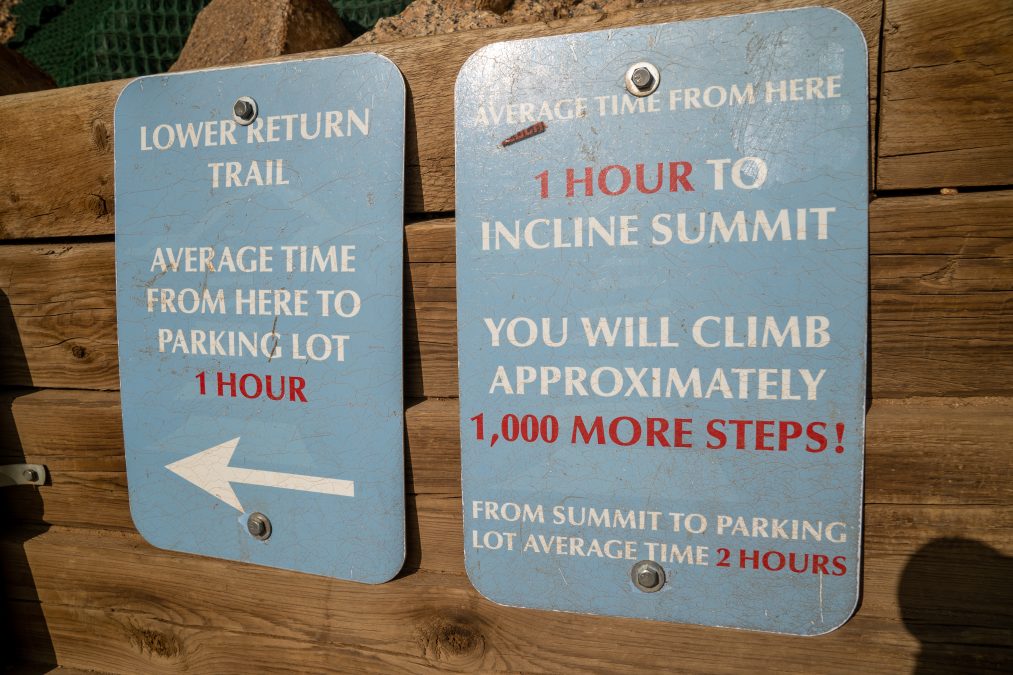
If you start the hike but feel like it’s just too much for you, there are two bailout points along the way – one right away at 395 steps, and the other at 1300 steps. There are signs when you reach these points – keep an eye out.
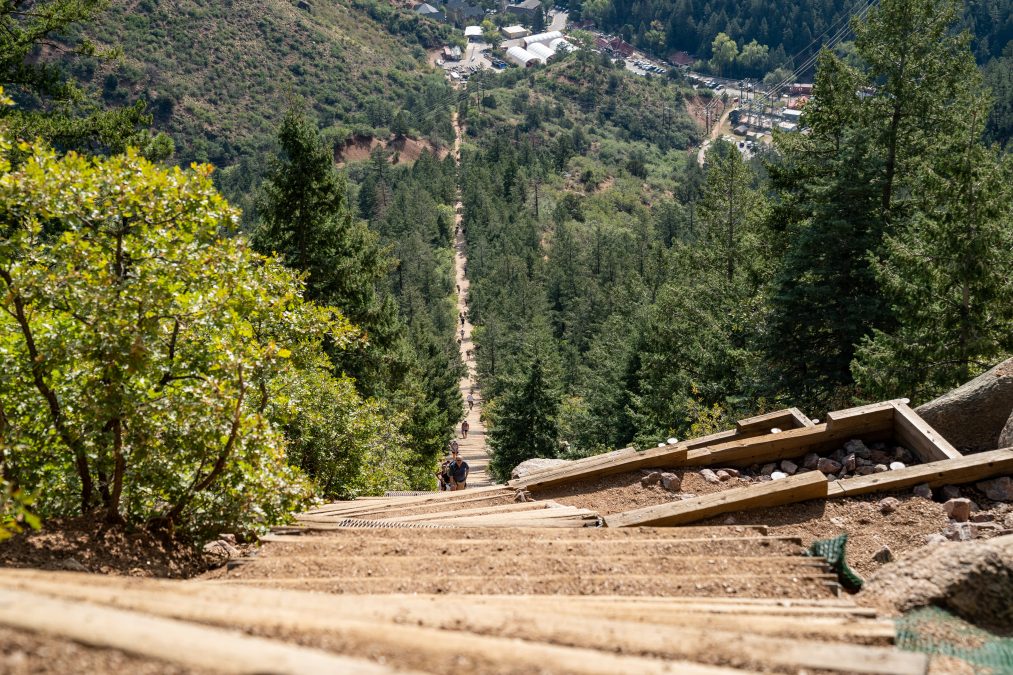
As you’re making you ascent, turn around periodically and see how far you’ve come – as long as you’re not afraid of heights. I’m not afraid of heights, but even for me, this was quite mesmerizing. I just climbed that?
The last 100 steps are the toughest part of the hike – both mentally and physically. It’s steep, you’re tired – but keep going. Almost there!
Upon reaching the top, I felt a real sense of accomplishment. This was a very tough hike – both mentally and physically! You’ll look down the staircase and see what exactly you accomplished – it’s crazy to think that you just walked straight up a damn mountain!
Heading down via the Barr Trail
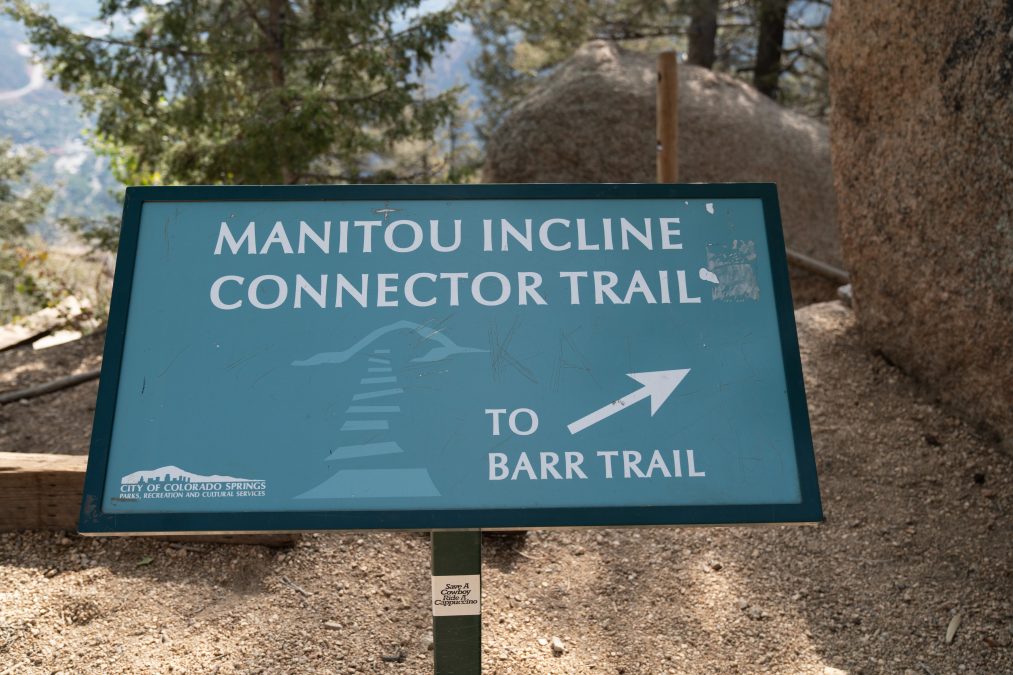
When you’ve had your snack and enjoyed the views, it’s time to head back down. While you can go down the steps, it’s not recommended. For one, it’s bad on your knees, but it’s also so steep and seems dangerous to do so. I did see some hikers going down the steps, but not many. Most will opt for the Barr Trail.
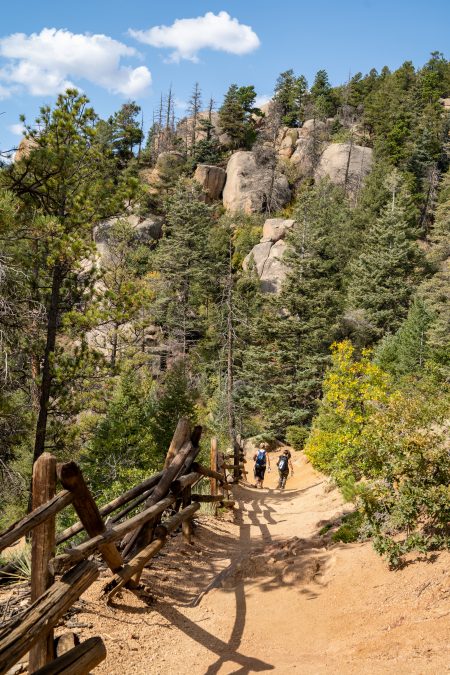
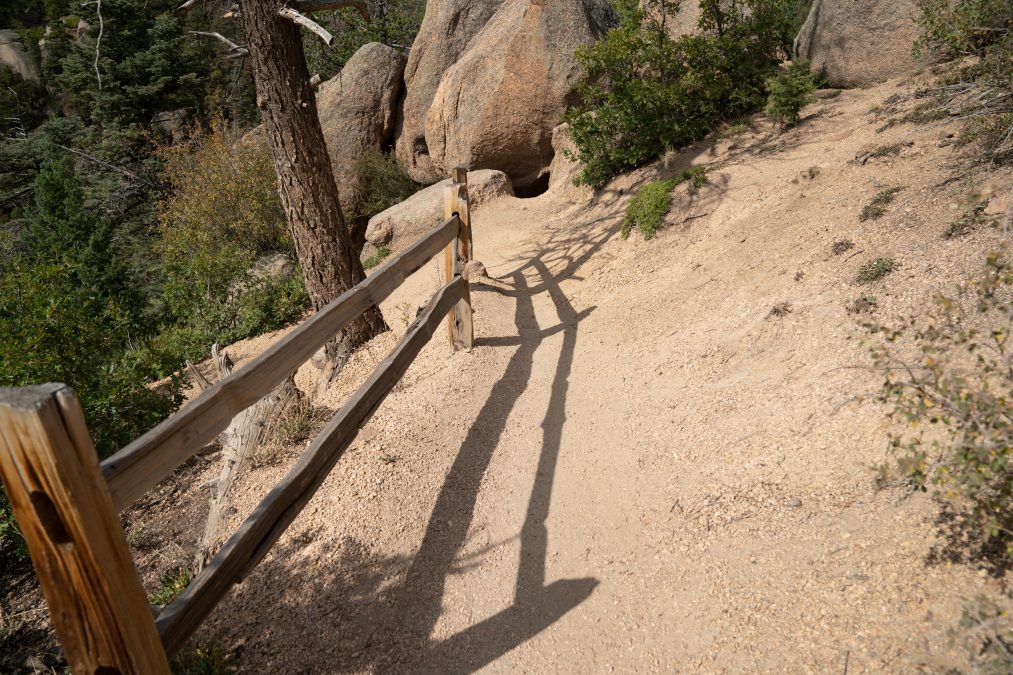
This part of the Barr Trail has some nice mountain scenery. The trail is easy to follow but it’s crowded. You’ll find a lot of trail runners on this hike, so make sure to keep an ear out for footsteps behind you. Otherwise, it’s an easy downhill, 4-mile hike back to the trailhead.

Once you get back down, just follow the other hikers to the shuttle bus stop and wait for the next bus. Congratulations – you completed the hike!
After this hike, I headed back to my Colorado Springs hotel and showered up and then headed out for more adventure to drive up Pike’s Peak. Driving out to Pike’s Peak, you can see the incline from the highway – again, you’ll get another major sense of accomplishment – “I CLIMBED THAT. DAMN, WOMAN!”
Manitou Incline Hike – Pros and Cons
Pros:
An absolutely amazing hike and fantastic workout. If I lived here, this would be my daily workout.
Free
Cons:
This is not for the unfit. You have to have some baseline cardio conditioning to complete this hike.
Have to take a shuttle bus to the trailhead
Can get crowded
If you have a fear of heights, don’t look down!
Like this post? Pin it to save for later!


2 Comments